Support
Integrating Zoom with Amelia
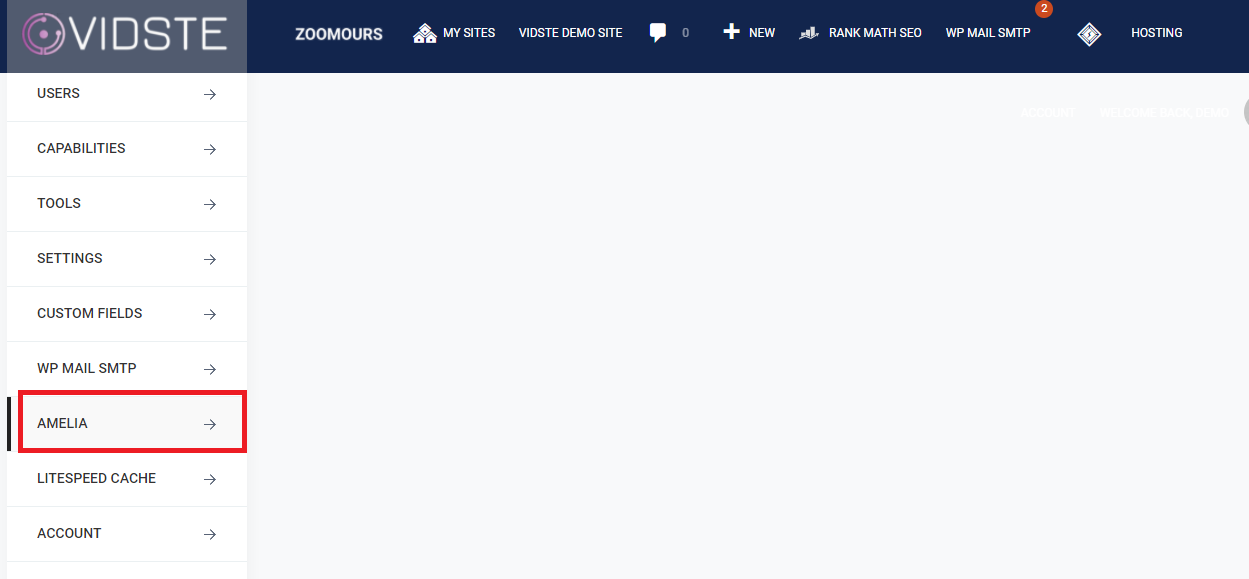
1. Click on “Amelia” in the left side menu.
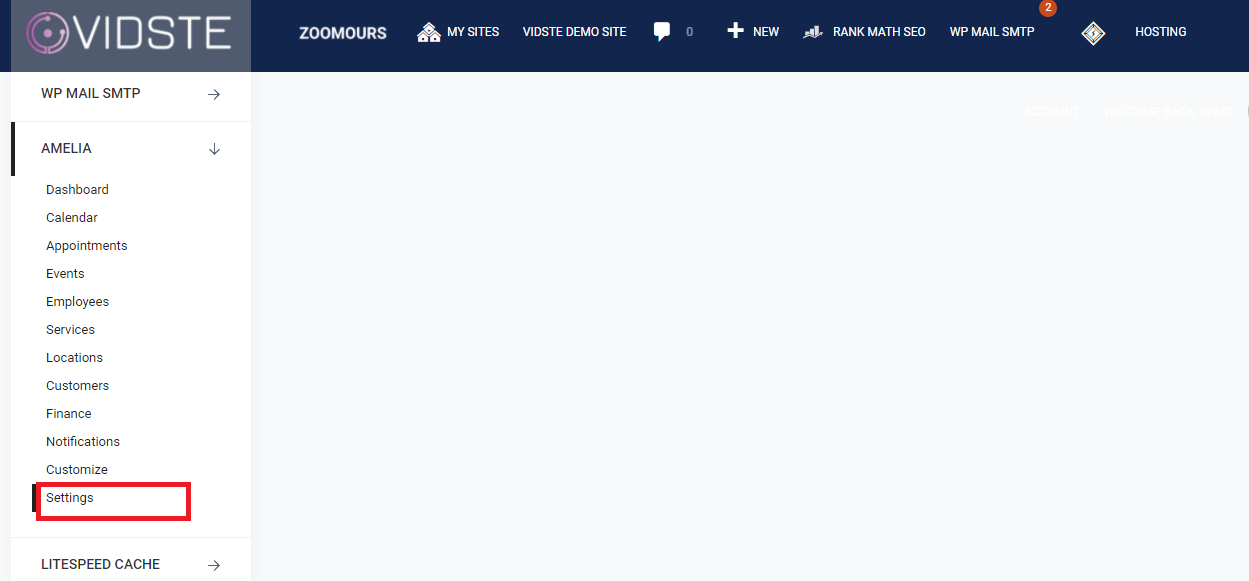
2. Click on “Settings”.
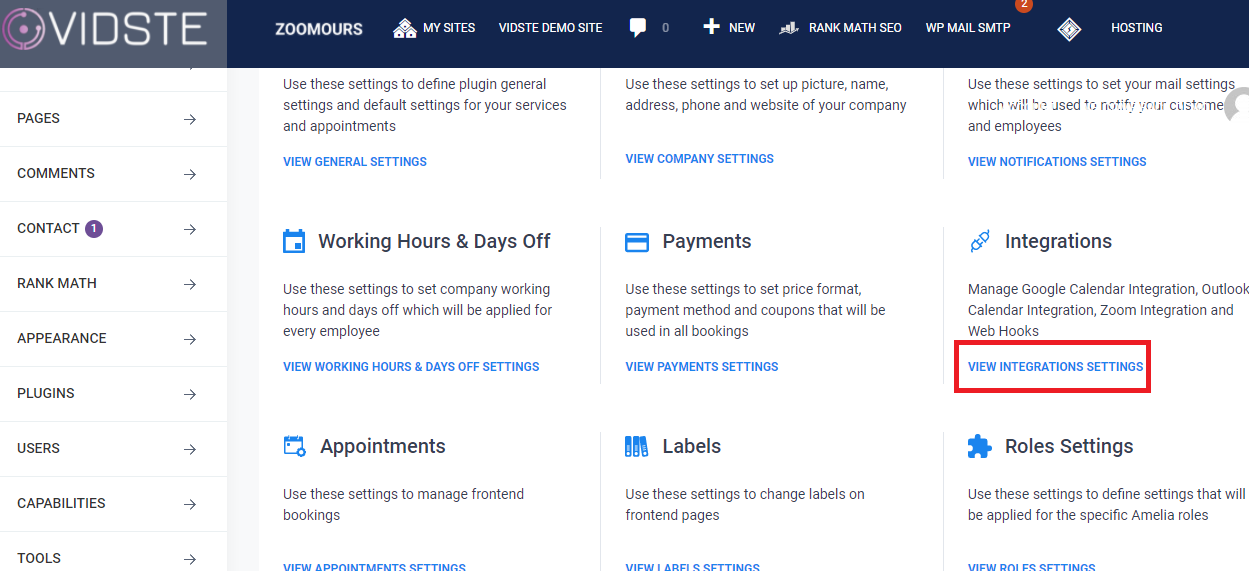
3. The settings page of Amelia Plug in will open. Click on “View Integrations Settings”.
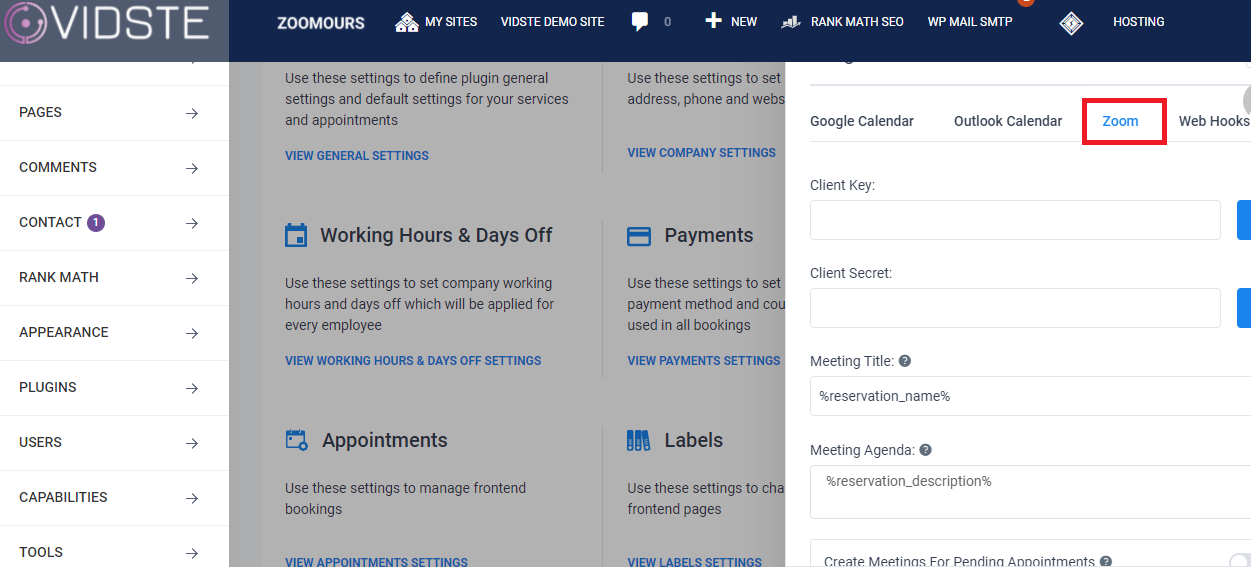
4. Open the “Zoom” tab in the integration window.
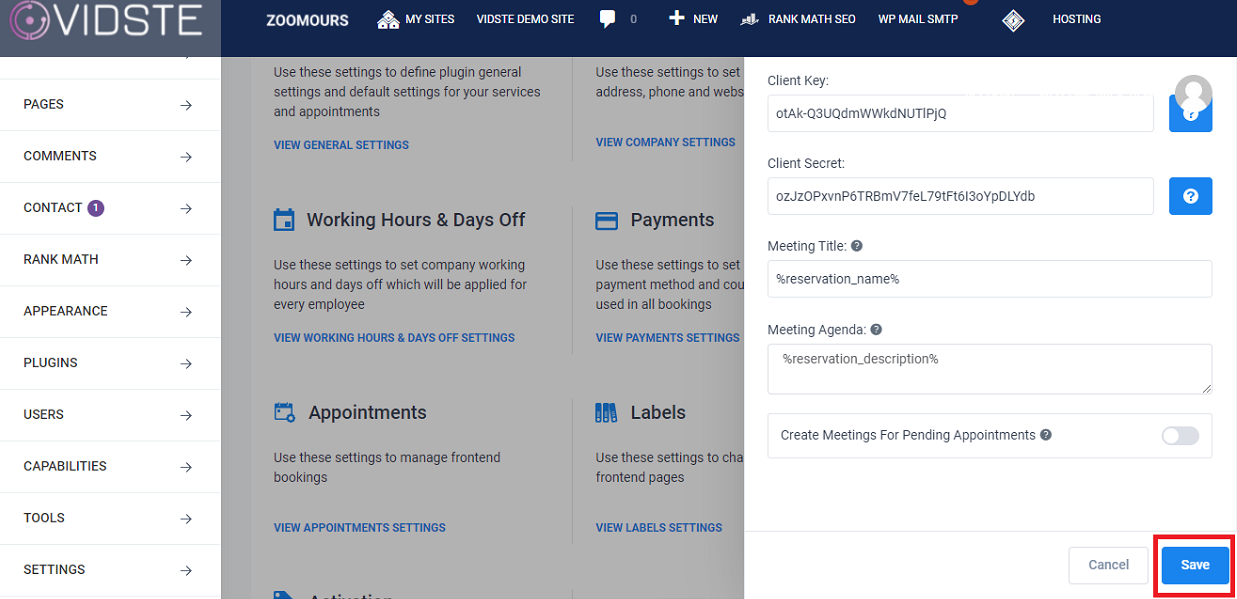
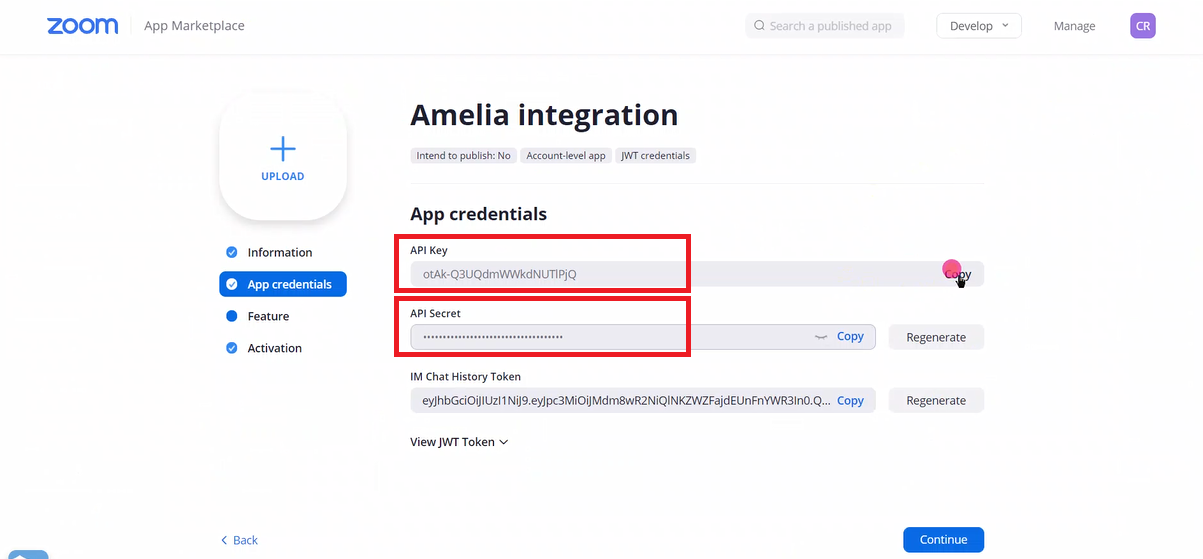
5. Use the “API Key” of the App created in Zoom market place as “Client Key” and the “API Secret” as the “Client Secret”.
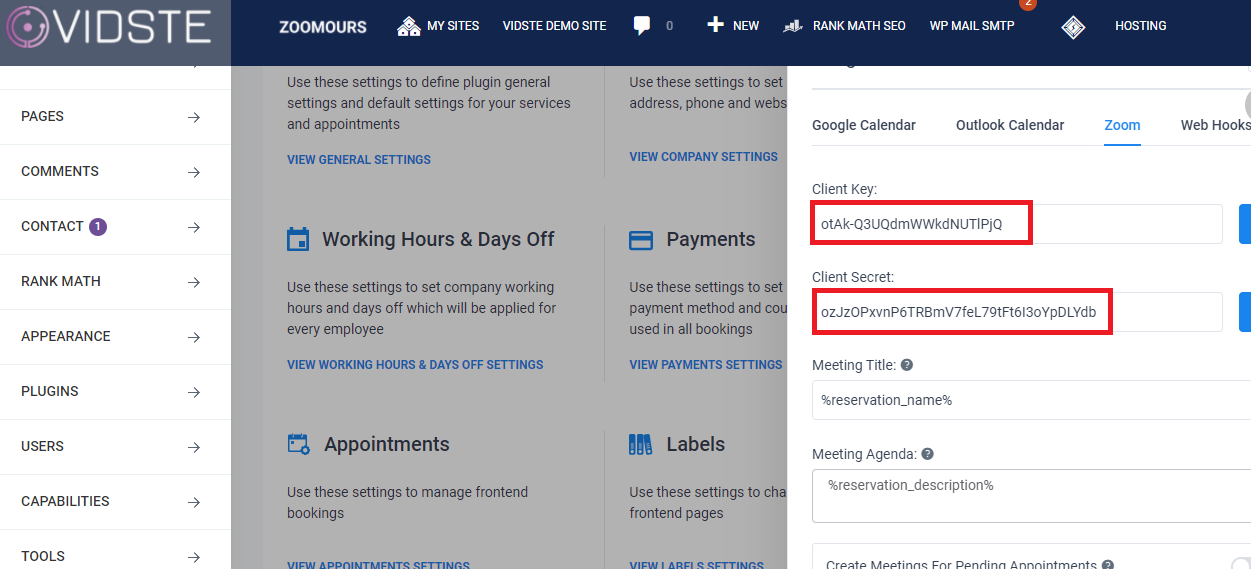
6. After setting the “Client Key” and “Client Secret” you will see three other options to set:
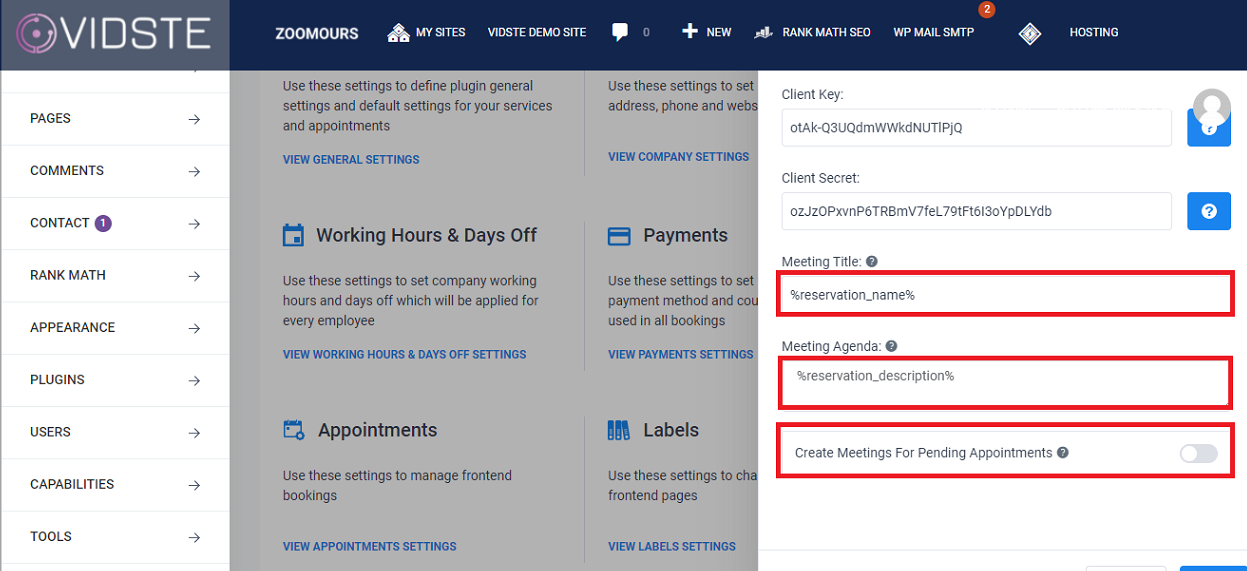
– Meeting Title – You can set here what you want your meeting title to be. In order to have a different meeting title each time that matches your meeting add the placeholder from the email notifications page. Go to the Notifications page, open the “Show Email Placeholders” option and copy the placeholder that you want and then paste it in this field (for example %service_name% like we’ve used on the picture above).
– Meeting Agenda – Works the same as the option above. Copy one or multiple placeholders from the notifications page and paste it here in order to show details that match the scheduled appointments or events (we have chosen %service_description% for this field).
– Create Meetings For Pending Appointments – Here you can choose whether you want your meetings to be created for Pending appointments as well or not. By default, this option is disabled which means that meetings will be created only for the appointments with Approved status.
10. Click on “Save”.